
One Room Challenge Week #4: Girl Bedroom Makeover
Hi Friends, welcome back to Postbox Designs, Interior E-Design! If you have been around here before, we are old friends. If this is your first time, my name is Kristin! I’m a wife, mama of 3 kiddos, and have been an interior designer for over 13 years. And I’ve been on LaCroix and Rice Krispie snacking overload while trying to whip my youngest daughter, Adelyn’s bedroom into shape over the last few weeks. Twice a year I love to participate in One Room Challenge, a six week challenge to makeover any room of your choosing. And it is just about the only time I work on my OWN house instead of my clients! Plus you get to follow along and see a sneak peek into my own house. If you missed the first three weeks, I’ll give you the shortcut to catching up:
Catching Up on the Past Weeks of One Room Challenge
Week #1: The Design Reveal + Free Source List
Week #2: My $69 DIY Light Fixture Tutorial
Week #3: The Pink Sofa + Wall Gallery Art Reveal
Grab the Free Design for my Girl’s Bedroom Makeover
Love something you see today? Don’t worry, I created two FREE Mood Boards + the Shopping List for her entire bedroom makeover. Be sure to scroll to the bottom of the post to see where to grab it all, in one easy place.
Step-by-Step Guide “How to Style Your Dresser”
And for Week #4 I have been focusing on adding some decor to the top of her dresser. I actually bought this white dresser 11 years ago for the nursery of my oldest daughter! It has stayed in great shape. I only did two small updates. I repainted the top of the dresser that had been scratched over the years. I also changed out the white wood knobs with new gold knobs for an updated look. But I often hear my clients get stuck with how to actually decorate the top of a dresser or table top, so today I’m going to break it down and show you the steps to decorating any blank top in your home!
Step 1: Add Oversized Piece of Artwork over Your Dresser
You can absolutely use more than one piece of artwork over your dresser, but one easy way to add decor over your dresser is to add one single oversized piece of artwork over your dresser. I like to use a minimum of a 24″x36″ artwork (this is the size I used below). Most people hang their artwork too high, I would recommend only hanging your artwork 3-6″ above the top of your dresser. My daughter wanted a “Unicorn and Horse” themed bedroom, so I fell hard for this charming unicorn print I found on Etsy (you can find the source for it, as well as everything else in this room at the bottom of today’s post).
In my daughter’s bedroom makeover, I decided to add an extra something-something over my artwork! I added a yarn tassel garland from the Etsy shop Ramen Hands. I first fell in love with her tassel garlands when I used one in a client project, so I knew I had to use one for Miss A’s bedroom as well! I layered it so it slightly overlapped my unicorn artwork.

Step #2: Add a Set of Lamps
I’ll be the first to admit it…I’m a “symmetry girl” through and through! I love to see balanced, symmetrical spaces, so I’m a big fan of using TWO table lamps on a dresser. Add one to each end of your dresser. I loved this girly pink and gold table lamps that pulled in a soft pop of color. You can absolutely use one lamp if you would prefer.
And here is a peek at the tassel garland I hung over my framed artwork:

Step #3: Add a Stack of Books
A stack of books is the single best FREE decor item, when it comes to styling a dresser, a coffee table, or open shelves. Look around your house for hardback books, then remove the dust jackets. (Don’t have any at home? Grab some at Goodwill for usually less than $1 a piece). Look for spines in the colors you want for your space.
A stack of books is really useful because it can elevate smaller items so they don’t get lost.

Step #4: Add a Cloche with a Figurine
Okay, any medium sized object or figurine will work here! I just chose to use this cute glass cloche that I already owned. This is a fun piece because you can add something whimsical inside (and even switch it out easily).
The Best $2 Decoration for Your Kid’s Room
I actually got this idea from throwing a baby shower for my BFF. We threw a “Its a Wild World” theme for her shower, and I needed some inexpensive table decor. So I went into my local Dollar Store, bought several safari animal toys for $1 each. Then I used a can of gold spray paint to turn them from a cheap plastic toy into adorable gold sculptures.
So I figured I could do the same thing for Miss A’s bedroom makeover. I went back and picked up a plastic horse animal for $1. Then spray painted it gold, to use as part of her dresser styling. I didn’t even think to take photos of the before and after (sorry). So instead I found this “Before and Afters” from Aini Hapsari so you can see what a difference a coat of coat of gold spray paint makes!
P.S. While she and I both used gold spray paint, you could use a $1 tube of gold craft paint for an even bigger bargain.

Image via Aini Hapsari
I took my gold horse figurine and put inside the glass cloche, but you could add a few of these little animal sculptures on top of your dresser.

Step #5: Add something whimsical and fun
I always suggest adding something whimsical even in a grown-up space, but in a kid’s space, of COURSE you get to have fun and bring in some charm. I found this gold “HOORAY” sign for $3 in the Target Dollar Bin.

Step #6: Add a Medium Sized Item to the Other Side of Your Dresser
So whether you are styling the top of your dresser, table top, or bookshelves, you want to think of creating mini “groupings”. Usually groups of three work really well. On the right we already have our grouping of three with the lamp, HOORAY sign, and our books + figurine. So let’s balance out the dresser but creating a mini grouping on the left side.
Again, I was looking for ways to sprinkle in Adelyn’s request of a “Unicorn +Horse” themed bedroom. We already have the unicorn print above the dresser, and the gold horse figurine. I wanted something a little larger for the other side, so I actually just dug through the toy box. And I found this horse statue that we already owned. Free decor is always the best decor! I liked how it helped balance out the left side, but also added in a different color into the area.

Step #7: Add a Vase With Flowers or Greenery
In Step #6 I talked about creating little “groupings” (groupings of three usually work well). But you also want to create different heights in your groupings. If everything is the same height or size, everything tends to get lost. A really easy way to add some height in any grouping is some sort of vase or container. Then adding in flowers or greenery helps give your area of pop of color.
I used this milk glass vase I already owned. Then added in some faux white flowers to give it some height. I actually don’t love how these flowers look, so I’m going to play around with something different, maybe bringing in a pop of pink into the flowers.
So now both sides of the dresser are “balanced” without being completely identical.

Tips for Creating Dresser or Shelf Styling
Create mini groupings
Use a stack of 2-3 books to elevate a smaller object
Add in different heights: try to use a small, medium, and tall object in each grouping
Create symmetry: Using a lamp on either side creates balance
Hang your artwork low above your top-usually less than 6″ above
Shop your house for items you already have, no need to start from scratch

For a kid’s room, I try to really not use any precious. I want them to fully enjoy their space and not have anything “off limits”. So for this table top styling I don’t think any item (with the exception of the lamps) cost more than $10, most of them being under $5. Also, I totally grabbed things from other parts of my house and re-used items I already owned in a new way for her new bedroom makeover.

Before creating a Theme in a Kid’s Room, Think About This…
With my company Postbox Designs, the #1 space I actually design for my clients are kid spaces, especially Playrooms! And I always try to be really careful when I introduce a “theme” to a kid’s room. You absolutely want the space to reflect your child and their interests…but without going over the top. Because we all know today’s Shopkins obsession will turn into tomorrow’s Harry Potter obsession. So I try to sprinkle in the theme with items that are easy to swap out. For example, these little horse toys were $1 and free ways to add in the theme. I also incorporated her Unicorns and Horses into her artwork, but they were Etsy digital downloads costing no more than $5 each.
But with all of the BIG items in her bedroom such as furniture, bedding, and a rug, I went a lot more neutral. So if she outgrows horses and unicorns (which sadly one day she will), we are not stuck trying to re-do the entire room. A few more swaps can change it out to something totally different as she grows up… be still my heart!
So instead of buying a themed bedding set that will quickly get old, go neutral with the big or expensive items, and go more theme-y will less expensive, easy to swap out items.

My #1 Favorite Source for Rugs In the World
Just about every space I design includes a rug in it! I even often include runners in Kitchens and Bathrooms. And over the 13+ years of being an interior designer, I have sourced rugs from a LOT of sources. But my #1 favorite source for rugs is Rugs USA. They are at an amazing price point, include free shipping, and they have rugs in just about every size and style you can imagine. I already owned four of their rugs in my own house before using this one in my daughter’s bedroom. And not only do I source them on a weekly basis for my clients, but it is the first place I tell my friends and family to look.
For Adelyn’s room, I wanted something that pulled in some of her soft pink colors, but also had a more grown up look. Here is my other tip when looking for rugs in kid spaces:
Look for rugs with a lot of pattern and color variation: it helps hide dirt and stains! Here is the one I chose for her bedroom:
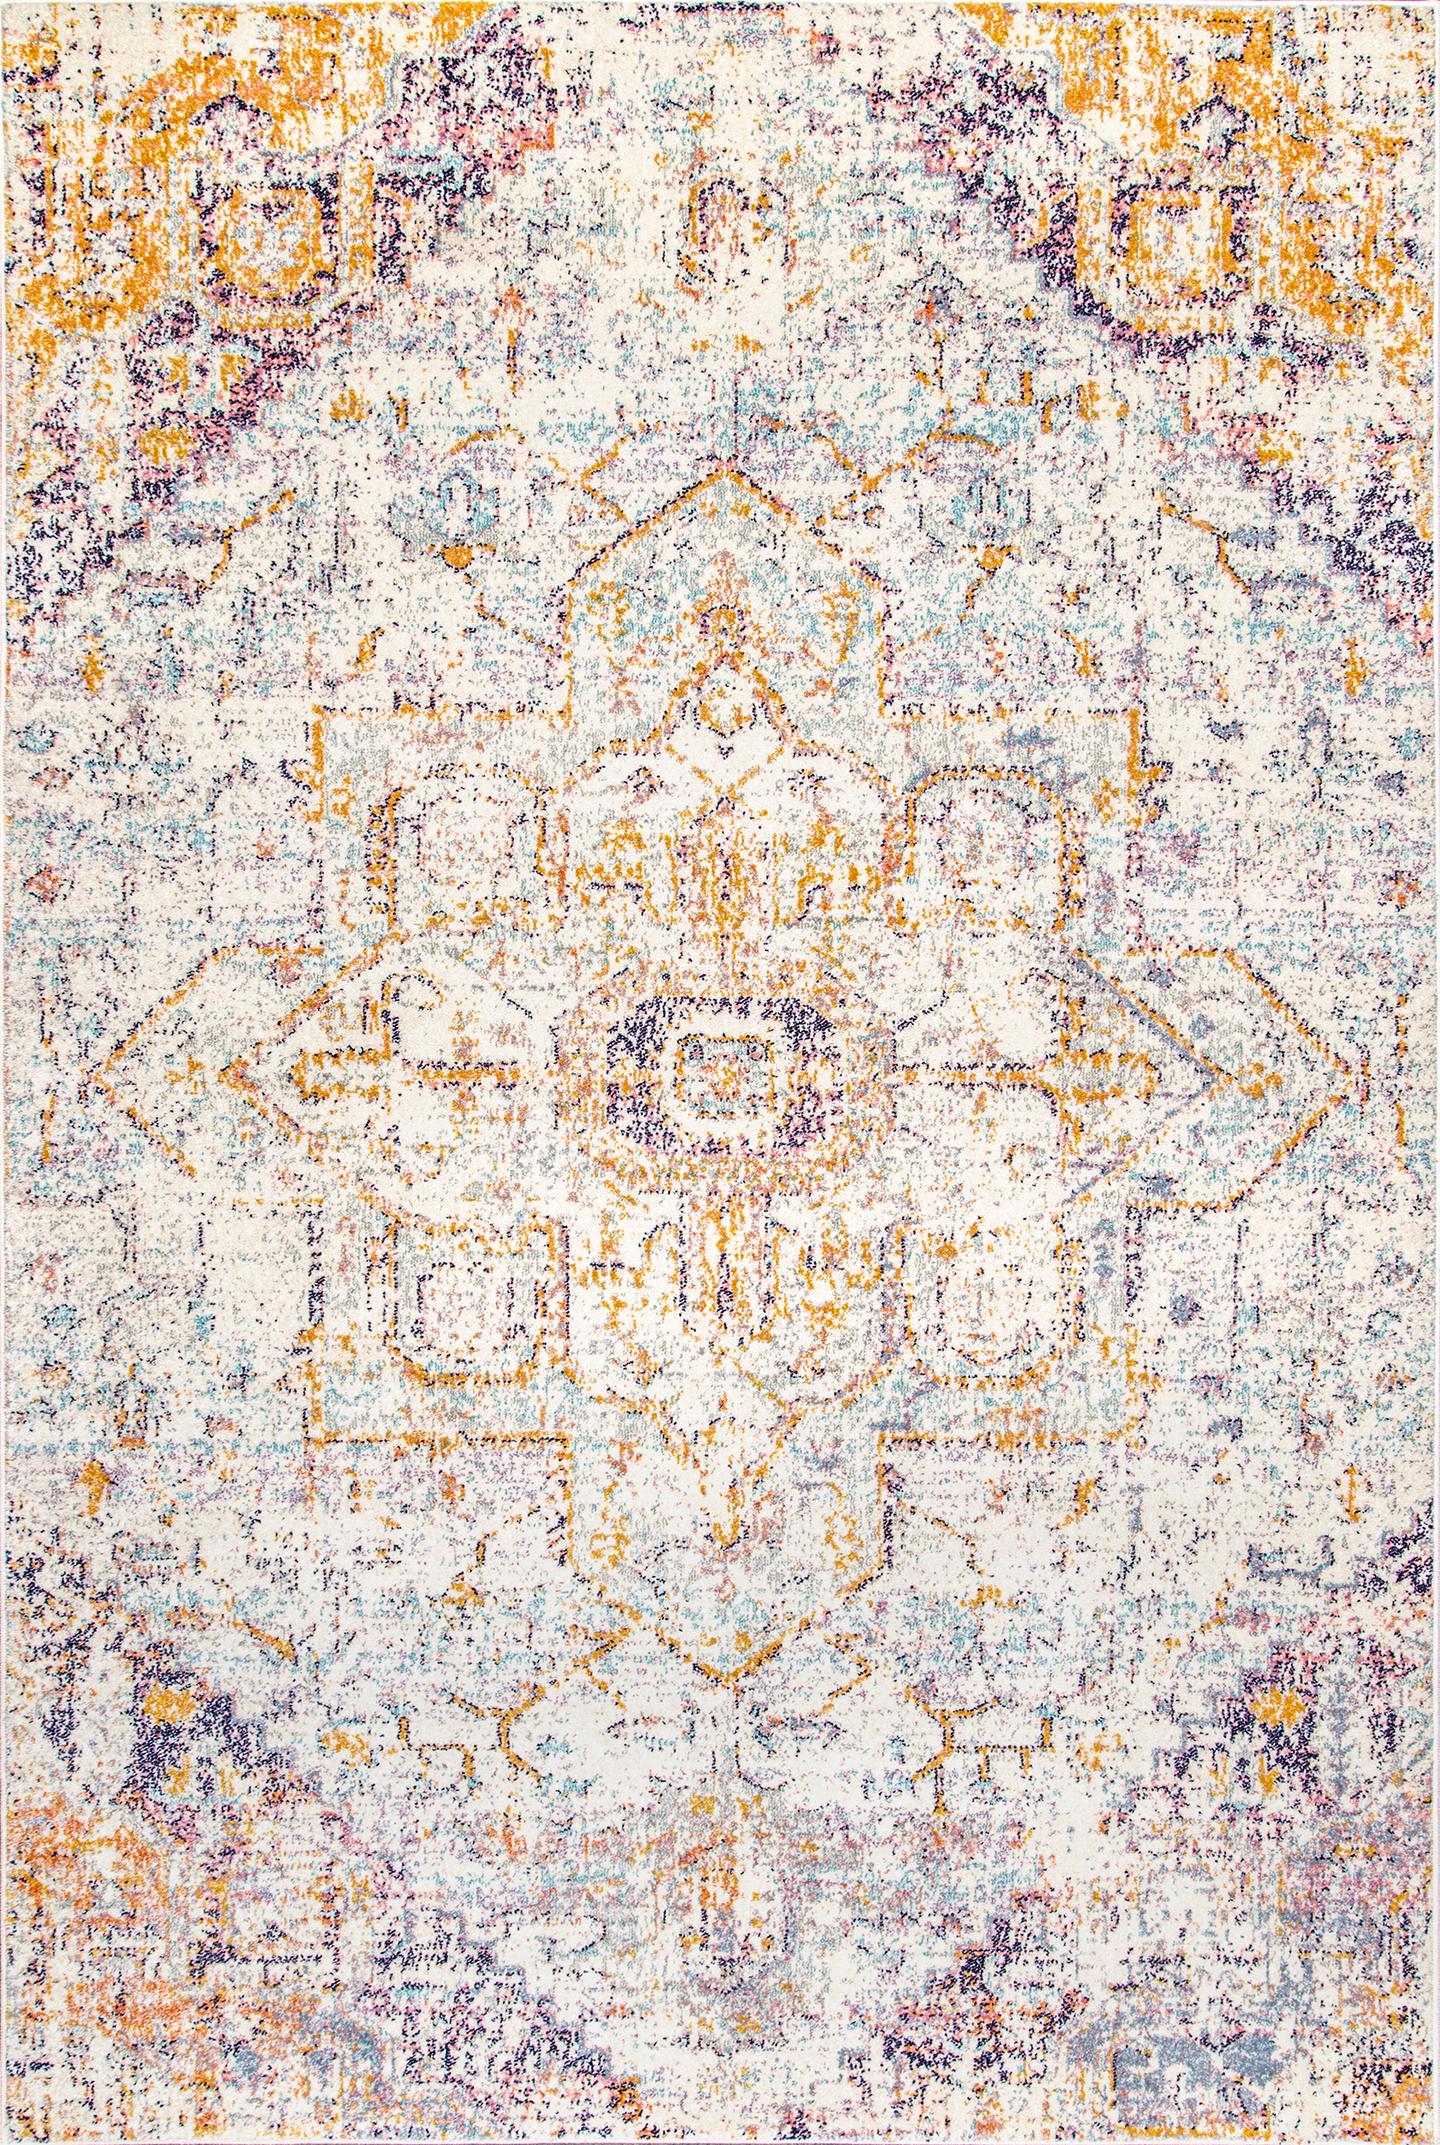
Isn’t she beautiful? Here is another tip I always recommend to my clients who have young children, or when I’m working on kid spaces.
Rugs get a LOT of use and abuse. So when you have young children, go with something inexpensive that you won’t cry about if it gets ruined.
I have learned this from personal experience friends. When my oldest (now 11 years old) was a baby and spit up all over my expensive Pottery Barn wool rug…let’s just say it was never the same. And I quickly learned that expensive rugs are for when my children get older (or leave the house entirely).
If you want to find the link for this exact rug, scroll down to the bottom to get the entire Mood Board + Shopping List for this whole bedroom. Otherwise, hop onto Rugs USA to shop for the perfect rug for your room. But take my advice-grab a cup of coffee and snuggle in because you are quickly going down the rabbit hole of gorgeous, drool worthy (and affordable) rugs!
And here it is in person… It is super soft and I can see her snuggling on her new rug reading a book or playing with her toys.

Want to Get this Room Design for FREE?
I created a Free Mood Board + Shopping List for my daughter’s entire room. You can grab the links (plus pricing and sizes) of just about everything in her room, hanging out in my FREE RESOURCE LIBRARY. When you sign up, you will get an email with the link and password to get free 24/7 access to ALL of the freebies hanging out there. I have a free designs for just about every style and room of your house hanging out in there: Shopping Lists, Guides, Worksheets, and more.
Already a member? You can log in with your password right HERE

What’s Next for Week #5 of One Room Challenge?
We are getting close to the end my friends! Next week is the LAST WEEK I have to work on her bedroom makeover! So for Week #5 I’ll be tackling her new bed, and all of her cute new bedding. And after that, be sure to check back for the BIG REVEAL for Week #6.
In the meantime, be sure to check out all of the other gorgeous room makeovers going on at the same time with the rest of the One Room Challenge participants!
What about YOU?
What is your #1 favorite thing you used to decorate your child’s bedroom, nursery, or playroom? Comment below with your favorite, I would love to hear (and get more great ideas!)
And if you have questions about anything you see here today or about Online Interior Design just shoot me an email at kristin@postboxdesigns.com
and I’ll get your question answered!
Cheers,
Kristin


Leave a Reply